I’ve recently started considering what I would like to create for my final project at college so I’m currently in the process of making notes and putting together different designs. I have chosen to do an oriental theme for my game; however, I can’t decide whether to do a puzzle game or a fantasy open-world game. I’ll be posting different things as I work through the design process but for now, I’ve started off with a mood board for the oriental design.
Tag Archives: texture
Unit 5 – Working to a Brief (Blitz Trash Box)
Photoshop – Mood Boards
I’ve currently started a new project that involves creating a 2D environment using Flash. This involves planning out the levels digitally and on paper, using sprite art techniques to create characters and designing tile sets. We have to build a total of 3 different platforms. These are just two of the mood boards I have designed; one for each world.
Finished Character Concept Bust Assignment
Text Effects Extra
MORE Text Effects
Text Effects
Mech Assignment – 3ds Max
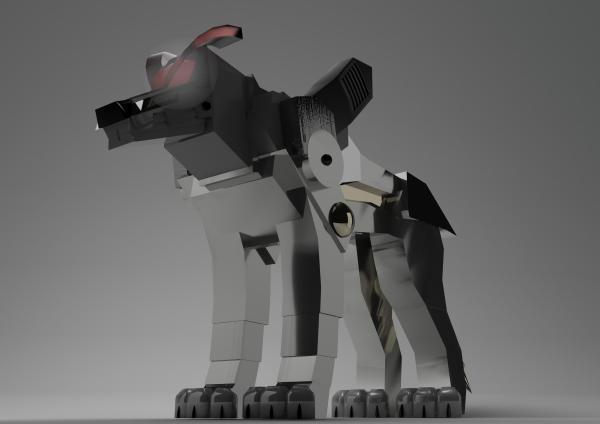
Our task to create a believable, mechanical, digital 3D model to be used as a worthwhile asset in a computer game. We had to create a mech model that was positioned in a scene with suitable lighting and used appropriate textures.
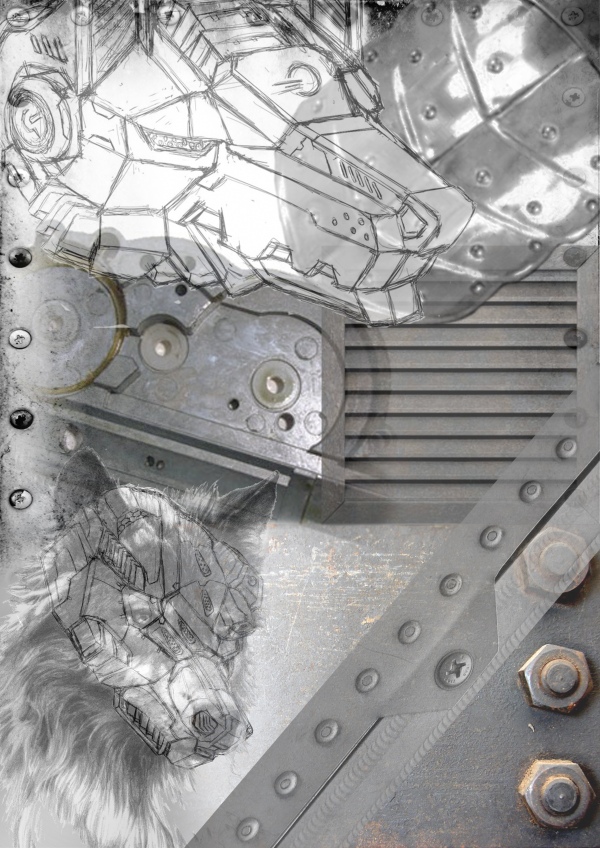
As with all assignments, I had to start off with planning the project before progressing onto the modelling. This time, I chose to place more focus on the planning as I feel that the planning of previous assignments may have left something to be desired. As usual, I started off with a mood board. With this board, i was aiming to get across the fact that I have chosen to base my mech on a wolf. I also wanted to show the basic colour scheme and put the idea of metal across.
3D Environments Assignment
Our very first project using 3ds Max was to create a 3D scene suitable for use in a computer game. We had to show our ability to model objects, apply texture graphics and place lights. Before we could begin the modelling, we had to create a mood board. For those of you who don’t know, a mood board is a piece of artwork in itself that puts across a theme and can include things such as textures and colour schemes.
Hopefully, the mood board shows clearly that I am looking at creating a stable environment. In order to get the images to flow and merge together effectively, I researched for an online tutorial (http://www.digiretus.com/tippek/cikkiro.php?SORSZAM=32) that showed how to merge images together by adding a vector mask to the layer and using a black and white gradient to fade out some of the image as shown above in the ‘Layers’ panel.
While building my scene, I rendered individual assets and produced asset boards to show off the features. To add to the boards, I added into the background either a drawing or the texture attached to the asset.
After the individual renders, i could begin to put together boards that would show renders of my final scene. I put together one render board containing 4 renders and a A3 render of my final scene from the chosen angle.
If anyone is interested in finding out more about the project, I have an evaluation of my project including links to tutorials I used or the assignments brief which are available on request. you can either message me here or email me on stepup3d@ymail.com


